I’ve always had a bit of an obsession with base makeup. I spent years testing all kinds of foundations, concealers, and primers, trying to find the perfect formula that offered great coverage without looking heavy. Then one day, I caught a glimpse of myself in the mirror and saw a layer of cakey foundation sitting clearly in my pores. That was the moment I realized the idea of “heavier makeup = better effect” was fundamentally flawed.
Over time, I started to explore the real secrets of lightweight base makeup—not just about “looking like you’re not wearing makeup,” but making the skin look naturally beautiful, radiant, and flawless even up close. From prepping the skin, choosing the right products, applying techniques to setting the makeup, every step became crucial. Today I’m sharing my full routine for achieving a “lightweight flawless bare skin” look. Whether you’re after a sheer everyday glow or all-day staying power, you’ll find a tip or two that suits you.
Step One: Skin Preparation—The Prelude to a Lightweight Base
The first and most critical step in a lightweight base routine isn’t foundation—it’s the condition of your skin beforehand. The smoother, more hydrated, and flake-free your skin is, the better your makeup will apply and the less likely it is to cake or separate.
Before makeup, I adjust my skincare based on how my skin feels that day. If it’s dry, I boost hydration with a watery essence, then seal it in with a lotion-like moisturizer, and finish with a few drops of face oil massaged in. If I’m short on time, I use a moisturizing day cream that also functions as a primer—convenient and efficient.
One crucial point: exfoliation. A gentle exfoliating session once a week helps remove dead skin cells, making the surface smoother and more even. This step prevents foundation from clinging to dry patches or uneven texture. I usually go for mild fruit acid or enzyme-based exfoliators, paired with warm water massage to reveal brighter, smoother skin.
Step Two: Choosing and Layering Primer and Sunscreen
Even lightweight makeup needs strong staying power, and that’s where primer comes in. I like to “zone-prime” different areas of my face depending on their needs:
- On the oily T-zone, I press in a mattifying primer to tighten pores
- On drier or flushed cheeks, I use a moisturizing or color-correcting primer to calm and brighten
- If my skin looks dull, I choose a radiant-finish primer with pearlescent pigments for an instant glow
For sunscreen, I prefer lightweight, water-based textures that won’t pill or disrupt foundation. On days when I’ll be outside for long, I opt for primer-sunscreen hybrids to cut down steps while maintaining protection.

Step Three: Foundation—Balancing Coverage and Lightness
This is the step that matters most. It took me a while to understand that “lightweight ≠ no coverage.” A truly good foundation offers a natural finish while correcting tone, blurring pores, and smoothing texture.
I mainly use light, liquid foundations such as NARS Light Reflecting Foundation or Estée Lauder Futurist Hydra Rescue. Their fluid textures glide on effortlessly and give a soft glow whether applied with fingers or a sponge. When I need more coverage, I use the “layering method”—spot-building only where needed instead of caking it on all over.
Choose your foundation shade to match your skin tone as closely as possible—don’t chase a “whiter” look, which often creates a harsh contrast between your face and neck. For oilier skin, go with semi-matte or long-wear formulas; for dry skin, dewy and hydrating bases are your best friend.
These products are all available on Amazon, and you can often catch great deals during seasonal sales.
Step Four: Smart Concealing—Precision Is the Key to Lightness
Concealer can make or break your base. Too heavy and it cakes up; too sheer and blemishes peek through. My golden rule is: “targeted application + seamless blending.”
For dark circles, I use a peachy or salmon-toned concealer, gently tapping it under the eyes before blending it out with my fingers. For blemishes or redness, I go with a skin-tone-matching liquid concealer and dot it on using a fine tip brush, then softly tap out the edges with a small sponge or brush.
Never apply concealer all over the face—it only adds unnecessary heaviness and ruins the natural look.
Step Five: Choosing Application Tools—Sponge, Brush, or Fingers?
The tool you use has a big impact on the transparency of your base.
Most days I rely on a beauty sponge. When dampened, it helps foundation melt into the skin for a second-skin finish. It spreads the product evenly and minimizes the risk of streaks or patchiness. Brushes are great for thicker or higher-coverage foundations. Fingers, on the other hand, are perfect for warming up product—especially useful for under-eye concealing and edge blending.
Before every application, I assess my skin and lighting to decide on the best tool combination for that day.
Step Six: Setting Without the Powdery Look—The Art of Gentle Layering
People often associate setting with a heavy dusting of powder. But lightweight base makeup can last all day too—with the right method.
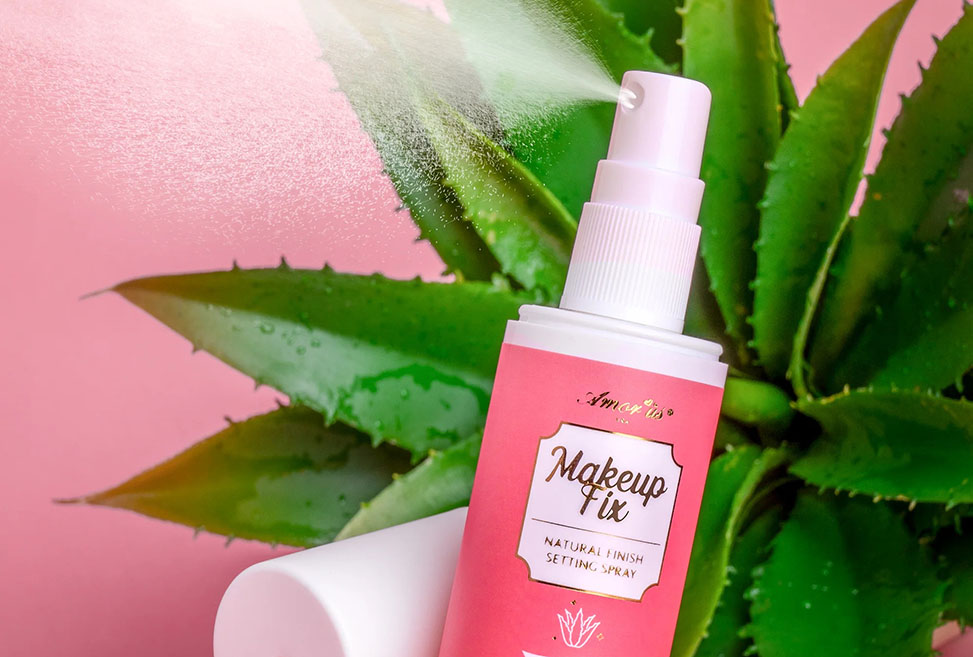
I use a fluffy brush to dust a tiny amount of translucent powder over my T-zone and other oily areas. On my cheeks, I sometimes skip powder entirely to preserve the foundation’s natural radiance. For special occasions, I finish with a fine mist of setting spray to lock in the look and boost longevity.
If you have oily skin or are in hot weather, try pre-setting: dust a fine layer of powder after primer and before foundation. It helps control shine and keeps your base intact longer.
Step Seven: The Key to Bare-Skin Illusion—Play with Light, Not Layers
“Bare-skin” makeup doesn’t mean doing nothing—it’s all about subtle tricks to create the illusion of perfect skin.
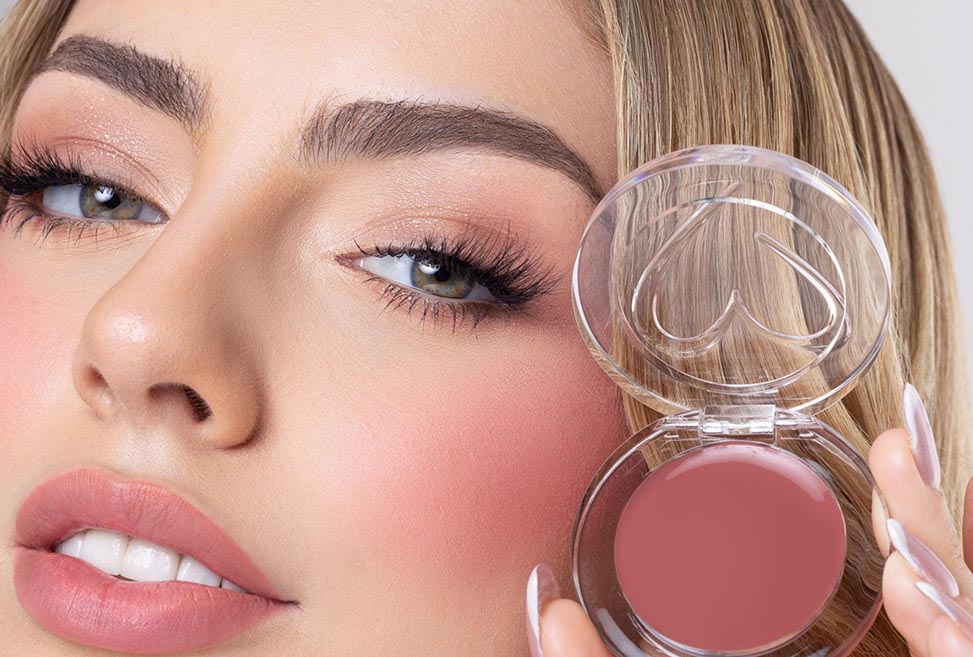
I dab a little highlighter on the forehead, bridge of the nose, cheekbones, and cupid’s bow, then blend it in with fingers for a soft glow. For blush, I prefer cream or liquid formulas. I dot it on the apples of the cheeks and blend with a sponge so it looks like the color is coming from beneath the skin.
This step is vital—it softens the appearance of foundation and brings back life and dimension to the face.
Step Eight: Touch-Up Tips—How to Maintain the Finish Without Overdoing It
Throughout the day, some fading or oiliness is inevitable. But I never slap on more foundation—that only leads to clumping.
Instead, I blot gently with oil-absorbing paper, mist a layer of hydrating spray, let it sink in, then use a cushion compact with a bit of coverage to press onto areas that need a touch-up. Finally, I seal everything again with setting spray.
This method keeps the skin looking fresh and clean—never cakey.
The Essence of Lightweight Base: Less but Better
Lightweight makeup doesn’t mean sacrificing coverage or durability. It’s a skin-focused, glow-enhancing philosophy that celebrates clarity, health, and restraint. The more natural and undetectable it looks, the more thought and technique it often requires.
This whole routine might seem elaborate, but in practice, it’s intuitive and fluid. Once you get used to the airy, breathable feeling of a light base, it’s hard to go back to thick, mask-like foundations.
I don’t aim for “you have great makeup”—I want to hear “your skin looks amazing.” That’s the base makeup philosophy I live by.