Step-by-Step Guide:
1. Prep Your Lips
Start by prepping your lips to create the perfect canvas for your lipstick. Gently exfoliate your lips using a lip scrub or a homemade mix of sugar and honey. This step is crucial as it removes dry and flaky skin, leaving your lips smooth and ready for color. After exfoliating, apply a hydrating lip balm to nourish and soften your lips. This not only helps the lipstick glide on smoothly but also ensures that your lips stay moisturized throughout the day.
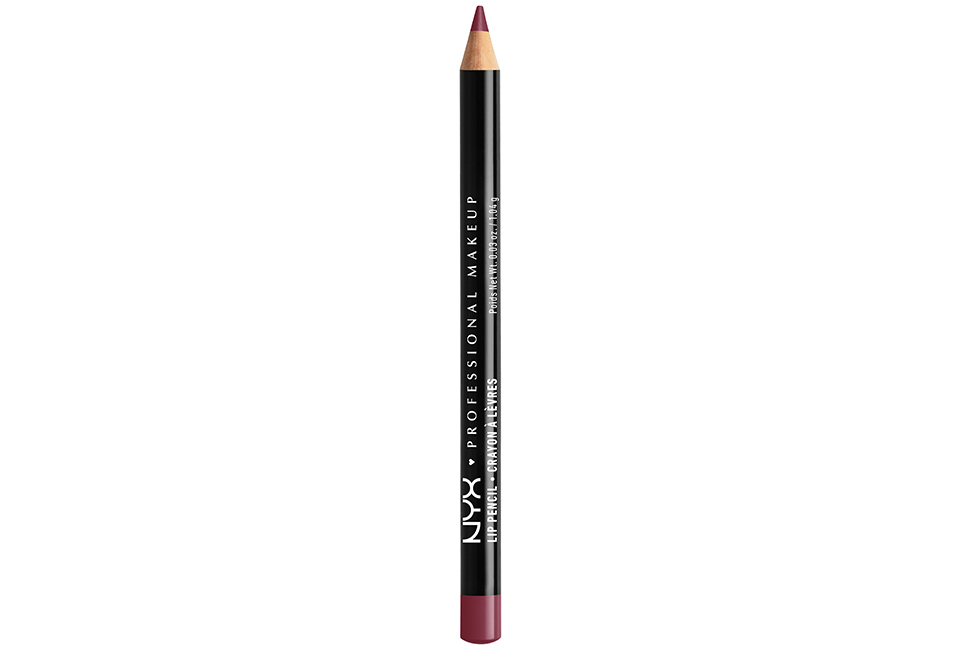
2. Use a Lip Liner
Choose a lip liner that closely matches the shade of your lipstick. Lip liners are essential! Begin by outlining the natural shape of your lips. This creates a defined border and acts as a barrier, preventing the lipstick from bleeding or feathering. Additionally, it gives your lips a neater and more polished look. If you want to create the illusion of fuller lips, consider subtly overlining the outer edges, but be careful to keep it looking natural.
3. Apply the Lipstick
Now comes the fun part – applying the lipstick! You have two options: use a lip brush for precise application or apply directly from the tube for convenience. Start by depositing the lipstick at the center of your lips and then gently spread it towards the edges. Take your time to ensure an even application, especially at the corners and the Cupid’s bow. Applying the color gradually helps you control the intensity and avoid smudging.
4. Blot and Layer
After applying the first layer, take a tissue and gently blot your lips by pressing them together. This removes excess product and sets the base layer. For a more durable finish, apply another thin layer of lipstick. Layering not only intensifies the color but also prolongs its wear, keeping your lips vibrant for hours.
5. Final Touches
For a polished finish, consider adding a touch of lip gloss to the center of your lips for extra dimension and shine. Alternatively, a light dusting of translucent powder around the lip area can help set the lipstick and reduce any potential smudging.
Recommended Products:

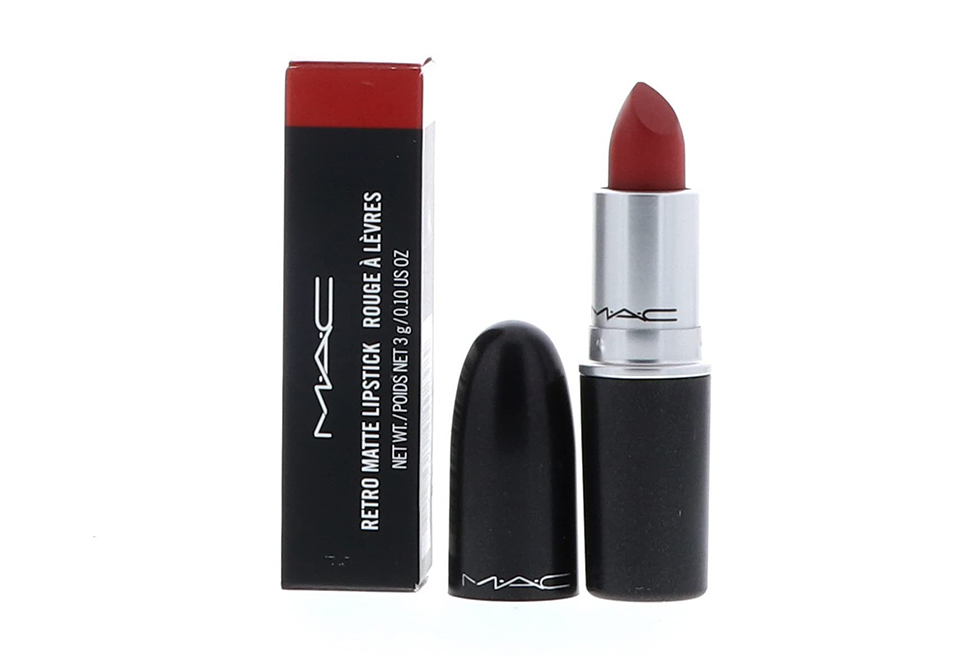
MAC Cosmetics Retro Matte Lipstick (Shade: Ruby Woo)
Pros:
- Intense Color: This lipstick offers a bold, vibrant red that instantly captures attention. The color is striking, perfect for those looking for a standout shade.
- Long Wear: Once applied, this lipstick lasts remarkably well throughout the day. Its long-wearing formula ensures the color stays intact for hours without needing frequent touch-ups.
- Matte Finish: The matte finish gives a sophisticated and velvety appearance to the lips, creating a timeless and chic look.
Cons:
- Drying Sensation: Some users might experience a slight dryness, as matte formulas tend to be less hydrating. Pre-hydration with a balm may be necessary for added comfort.
- Precise Application Required: Due to its intense pigmentation, precise application is crucial. A steady hand is needed to achieve clean lines and avoid smudging.
Price: Approximately $19, a mid-range price for high-quality lipstick.
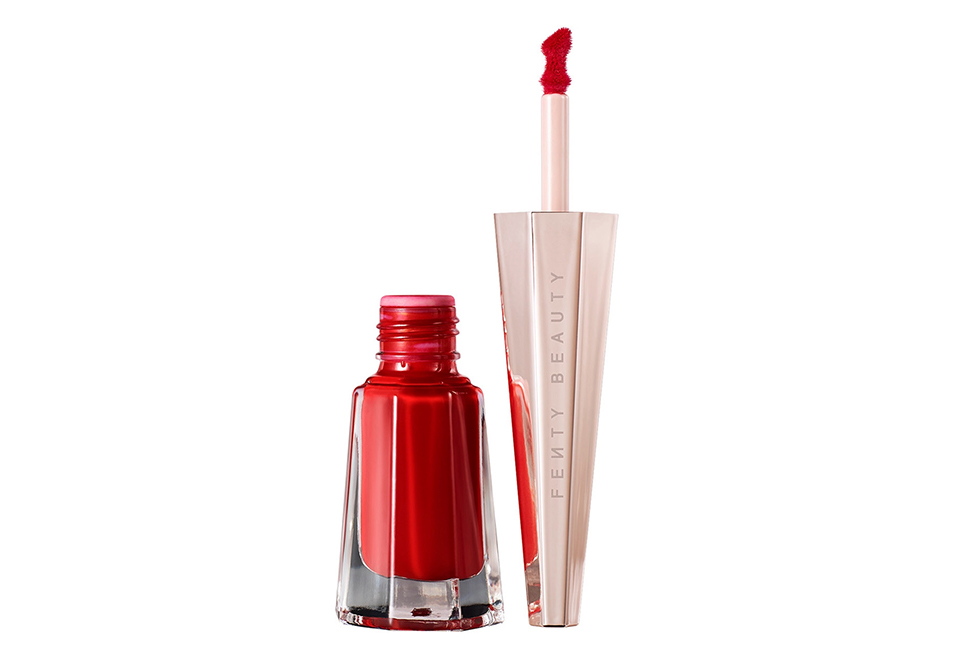
Fenty Beauty Stunna Lip Paint (Shade: Uncensored)
Pros:
- Highly Pigmented: This lip paint boasts an intensely pigmented formula, providing a strikingly bold red in just one application.
- Comfortable Wear: Unlike many matte formulas, Fenty’s lip paint offers a lightweight and smooth feel, ensuring comfortable wear all day without heaviness or dryness.
- Long Lasting: It’s known for its impressive staying power, maintaining vibrant color for extended periods without needing frequent touch-ups.
Cons:
- Price Point: At around $25, some may find it relatively expensive compared to other lip products. However, its quality often justifies the cost.
- Transfer: Although it offers excellent longevity, there may be slight transfer immediately after application. A gentle blotting can minimize this.
Texture: The Stunna Lip Paint has a creamy matte texture, combining the benefits of a matte finish with the comfort of hydration.
How to Remove Lipstick
Use a gentle makeup remover, micellar water, or an oil-based cleanser to effectively remove lipstick without excessive rubbing. Finish with a nourishing lip balm for added hydration.
Key Points to Remember:
- Exfoliation: Prepares your lips for smoother application.
- Lip Liner: Defines lips and prevents feathering.
- Layering: Enhances color intensity and longevity.
- Hydration: Keep your lips moisturized before and after application.
Infographic
Consider adding an infographic illustrating the step-by-step application process of lipstick.

Frequently Asked Questions:
Q: Can I skip the lip liner step?
A: While it’s not mandatory, using a lip liner can significantly enhance your lip look. Beyond simply outlining, lip liners help define your lips, creating a sharp boundary that prevents lipstick from feathering. They also serve as a base, ensuring better adhesion and longevity of your lipstick. For a cleaner, more precise finish, lip liners can make a noticeable difference.
Q: How can I prevent my lipstick from bleeding?
A: Bleeding or smudging lipstick can be annoying, but effective preventive measures exist. Firstly, using a lip liner that closely matches your lipstick creates a boundary that keeps the color contained. Opting for matte or long-wear lipstick formulas can also help reduce bleeding. Matte lipsticks adhere better to the lips, minimizing the risk of feathering. By combining these strategies—using a lip liner and choosing the right lipstick formula—you can effectively prevent lipstick from bleeding, ensuring a clean and defined lip look all day long.


